Lesson 02 / Planning
Website Process
A practical planning process that helps you define the audience, goals, content, structure, and first build steps for a website.
Course Role
Core
Part of the main course path. Prioritize this before moving to optional polish or deeper references.
Teacher Notes / In-Class Use
Demo Live
- Model the core workflow from the lesson using a small class example.
- Connect the example back to the first goal: Understand the essential stages in the web design process
Try In Class
- Write 2-3 sentences describing the audience for your class site.
- Have students make one visible change, save, refresh, and explain what changed.
Submit Or Check
- Ask students to show the work in the browser, not only in the editor.
- Have students commit their progress with a clear message when the checkpoint is stable.
Watch For
- Students copying code without checking file paths, spelling, or capitalization.
- Visual changes that work locally but break when the project is published.
Learning Goals
- Understand the essential stages in the web design process
- Connect each step to building an effective, user-centered site
- Move from audience and goals through content, structure, design, code, launch, and iteration
Introduction
A successful website starts before you write code. You need to know who the site is for, what those visitors need, what content belongs on the site, and how the pages should connect.
Use this process before starting a class project so your HTML, CSS, and design decisions support a clear purpose instead of becoming random decoration.
Understanding the Target Audience
Every website is for someone. Identifying who will visit the site helps you decide what content matters, what language to use, and what should be easy to find first.
- Who is most likely to visit this site?
- What are they trying to learn, compare, buy, book, view, or submit?
- What questions will they have when they arrive?
- What might frustrate or confuse them?
Output: write 2-3 audience notes in plain language. Example: "Visitors to a coffee shop site need hours, location, menu options, and a way to decide whether to visit."
Defining Goals and Objectives
With your audience in mind, define what the site needs to help them do. Goals keep the project focused when you start making design and content decisions.
- Choose 1-2 primary goals for the site.
- Write goals as user actions, such as "find class work," "contact the artist," or "compare menu items."
- Decide what action the visitor should take next on the homepage.
Output: write two user goals and one site goal. A user goal might be "I need to see examples of this designer's work." A site goal might be "Encourage visitors to contact me."
Creating and Organizing Content
Content is the material the site is built from: text, images, links, captions, forms, downloads, videos, and project details. Before designing the page, list what content the site needs.
- List the content needed to answer the audience's most important questions.
- Group related content together before deciding what page it belongs on.
- Remove content that does not support a user goal or project requirement.
- Write short, useful labels for pages, buttons, links, and sections.
Output: create a rough content inventory. For a portfolio, that might include a short bio, project images, project descriptions, contact information, and social links.
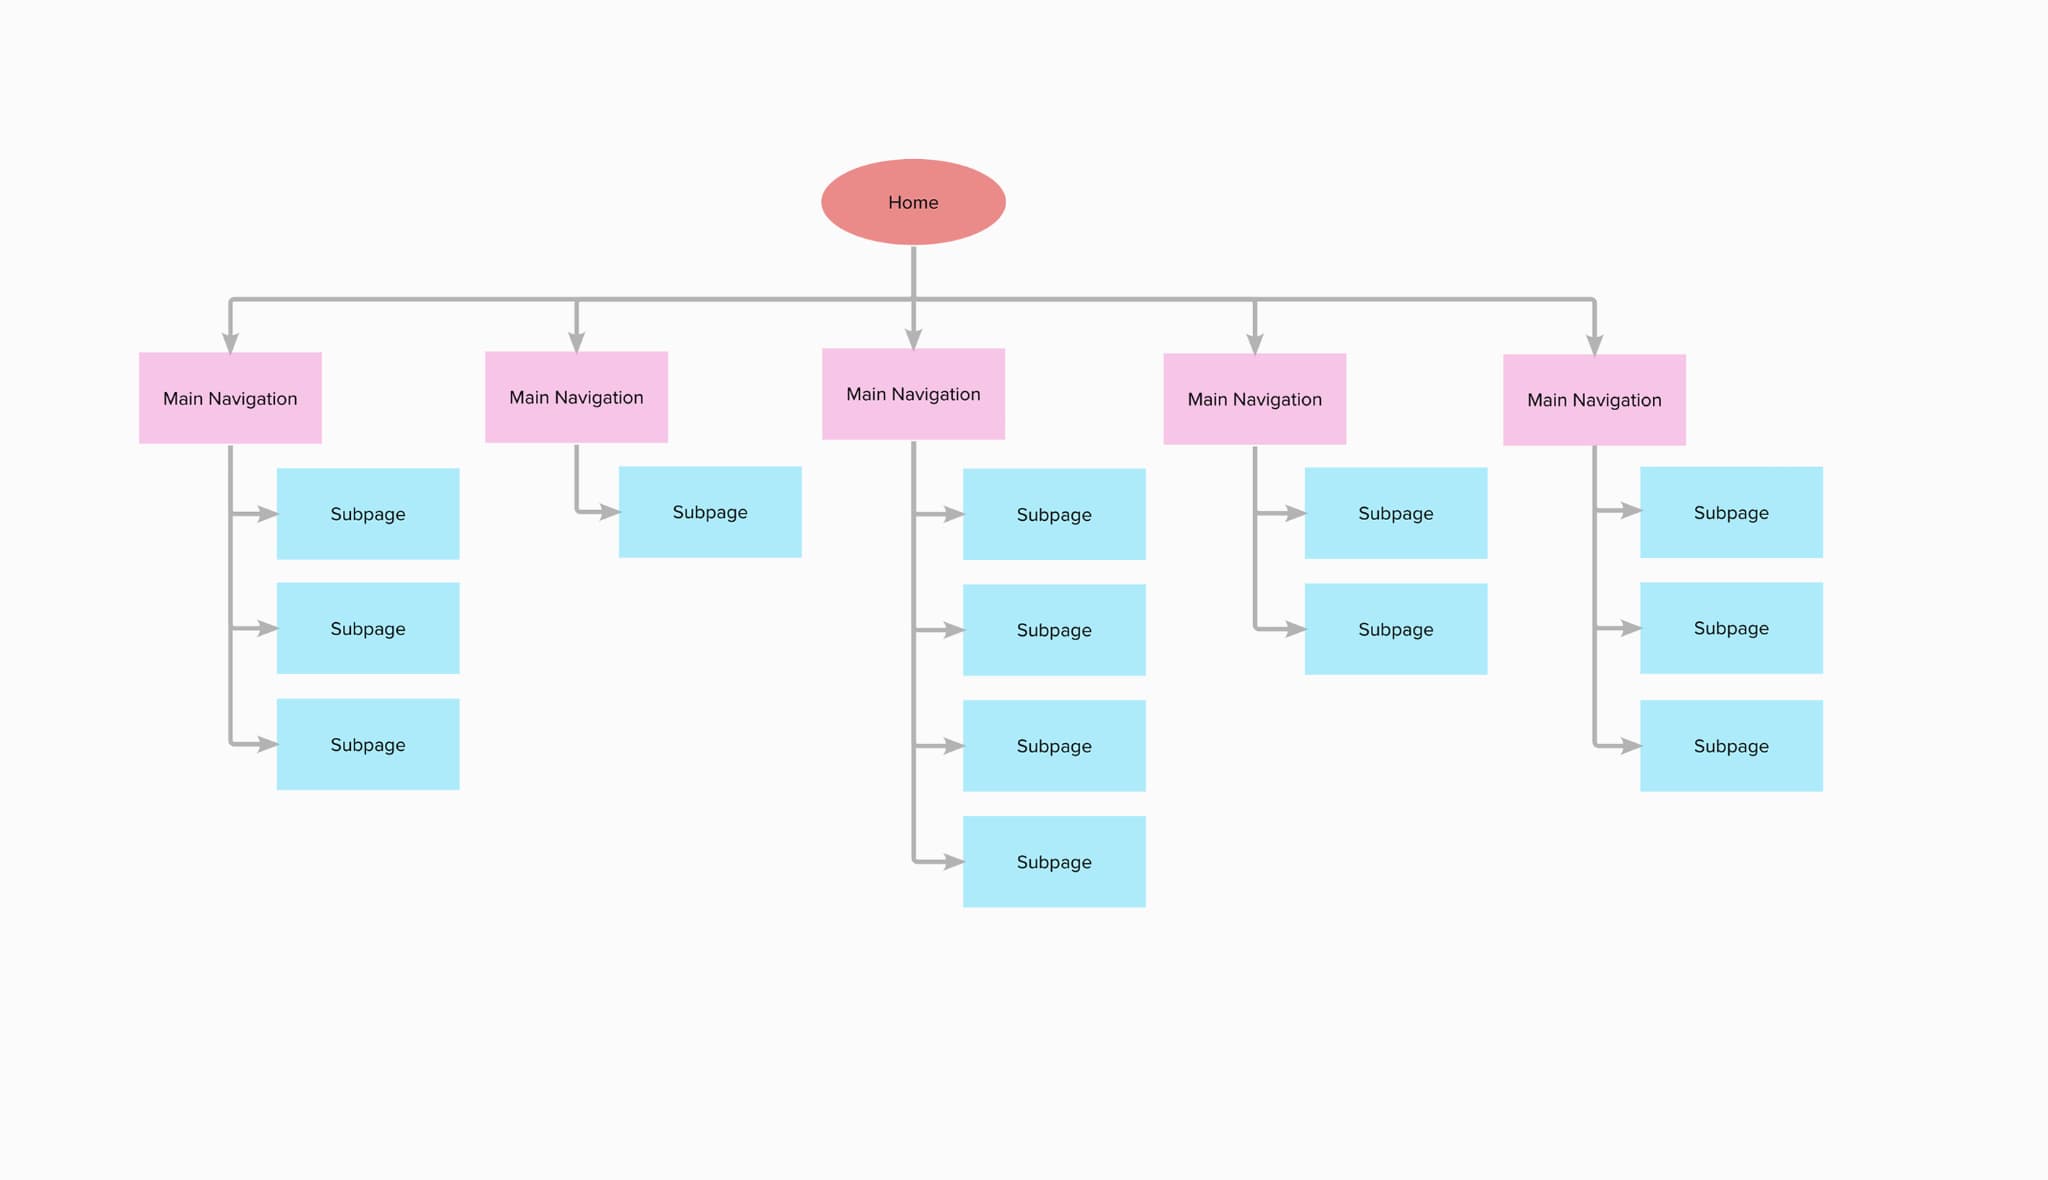
Designing a Site Map
A site map shows what pages exist and how they connect. It is about structure, not visual layout.
- List every page the site needs.
- Group pages by importance and relationship.
- Decide which pages belong in the main navigation.
- Check whether users can reach important content in a predictable way.
Output: draw or write a simple page list. Example: Home, About, Menu, Location, Contact. Site map = what pages exist and how they connect.
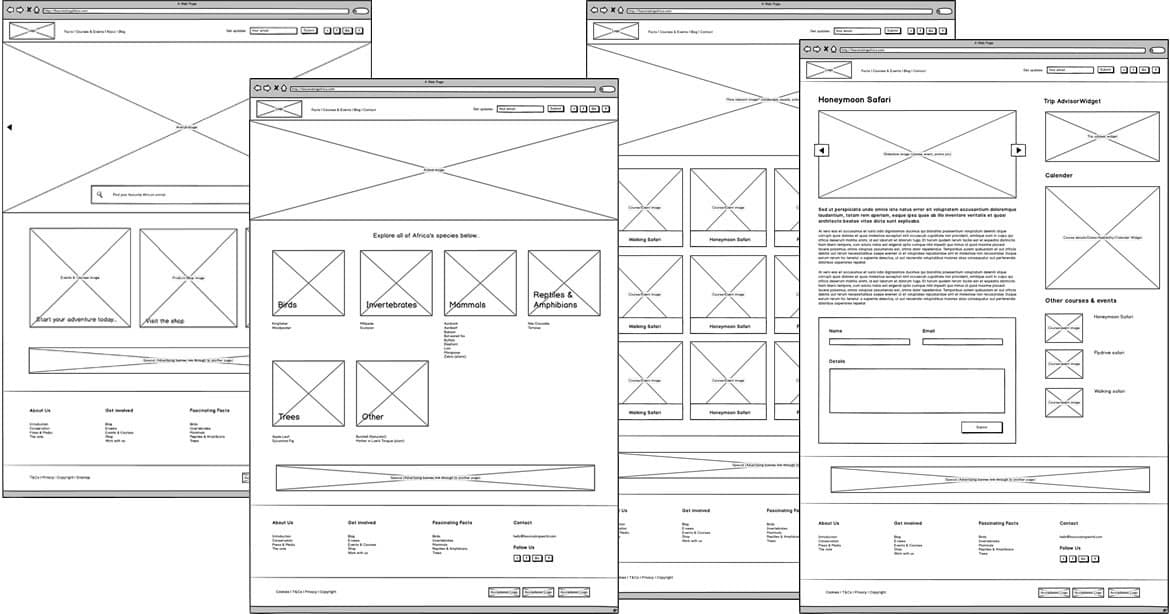
Wireframing the Layout
A wireframe shows what goes on a page and where it sits. It is a low-detail layout plan, not a finished design.
- Place the most important content near the top.
- Show major sections such as header, navigation, hero, content blocks, forms, and footer.
- Focus on hierarchy, order, and user flow before choosing colors or fonts.
- Sketch mobile and desktop differences when the layout needs to change.
Output: sketch one homepage wireframe before writing code. Wireframe = what content appears on a page and where it sits.
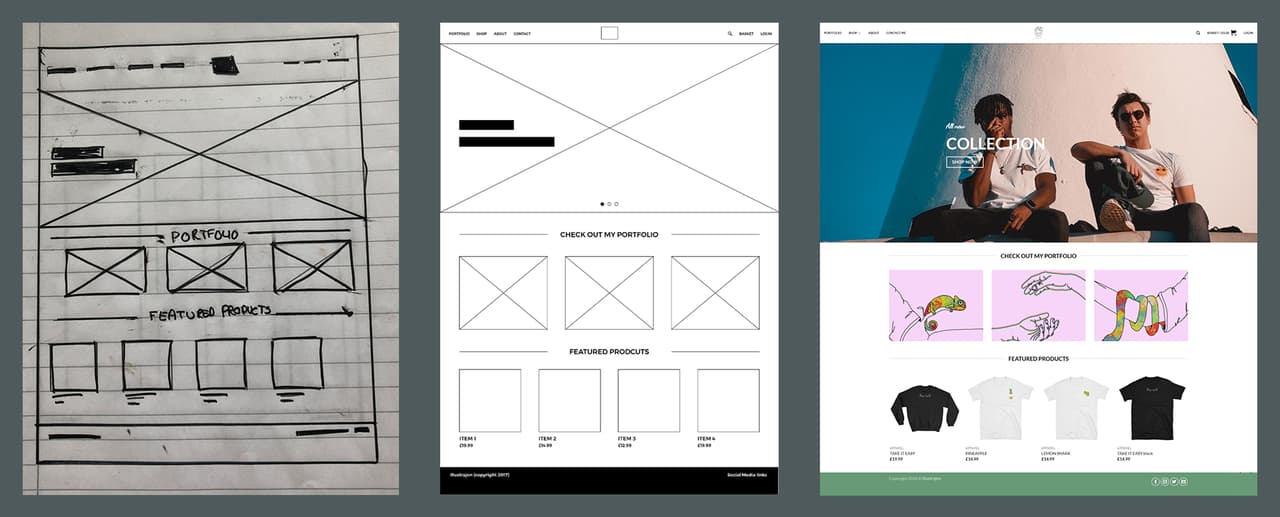
Developing the Visual Design
Once the structure is clear, visual design choices can support the site's purpose. Design should make the content easier to understand, not just make the page look busy.
- Choose colors that fit the tone and maintain readable contrast.
- Choose typography that supports hierarchy and readability.
- Select imagery that helps users understand the subject.
- Keep spacing, alignment, and repeated components consistent.
Output: define a simple visual direction: colors, type choices, image style, and 2-3 interface patterns you will repeat.
Coding and Testing
After the plan is clear, begin building the site in code. Your file structure, HTML, CSS, and assets should reflect the pages and content you planned.
- Create the HTML files from your site map.
- Use folders for assets such as CSS, JavaScript, and images.
- Build the page structure first, then layer in styling.
- Test links, images, forms, responsive layout, keyboard access, and published paths.
Output: a working local site that you can open in the browser, test, commit, push, and publish.
Launch and Iteration
Launching your site is not the end of the process. Publishing helps you find issues that were not obvious in the editor or local browser.
- Open the published URL and test every main page.
- Check that images, CSS, links, and navigation still work after publishing.
- Ask someone else to use the site and note where they hesitate.
- Make improvements in small, focused updates.
Output: a published site plus a short fix list for the next round of improvements.
Conclusion
A website process helps you make better decisions before the page becomes complicated. Audience, goals, content, site maps, wireframes, visual design, code, and testing all support each other.
Before you start coding a class project, use this lesson to decide what pages you need, what content belongs on each page, and what users should be able to do.
Checkpoint
Before moving on, make sure these feel true.
- I can explain the main concept in my own words.
- I can apply this lesson to my current project.
- I can verify the result in the browser.
- I can commit the change with a clear message.